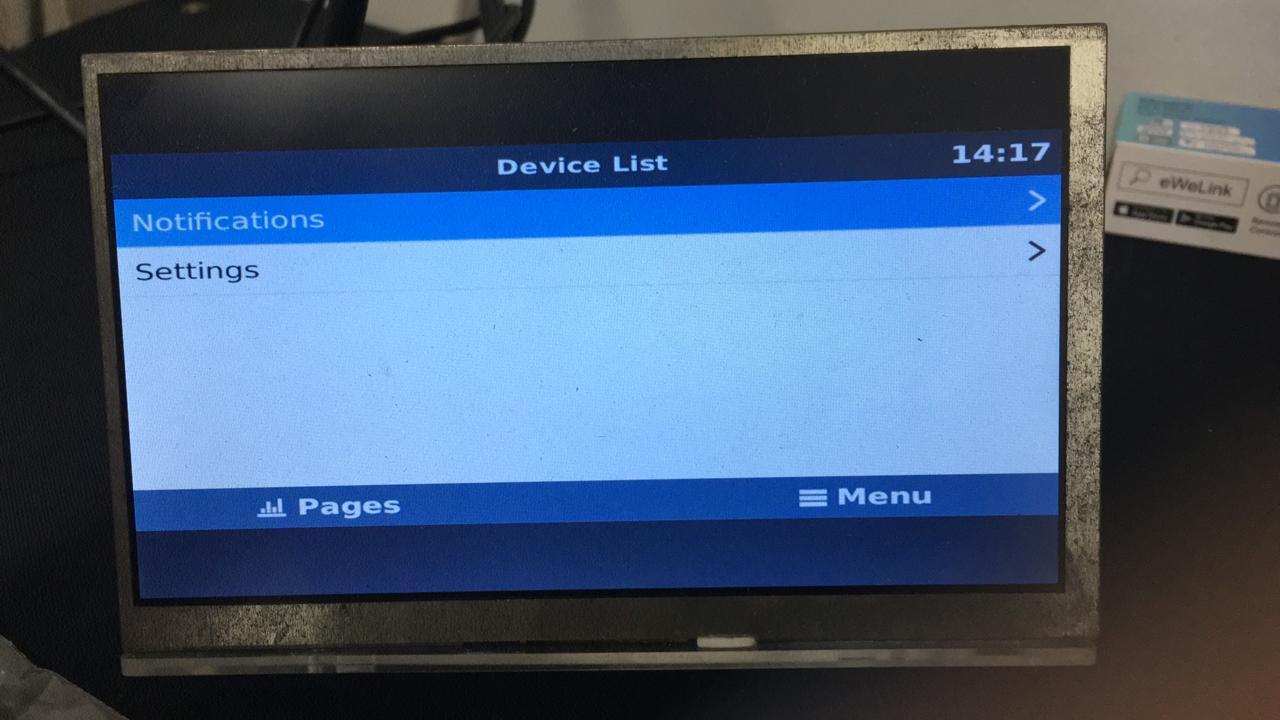
If you are using a RaspberryPi running VenusOS and want to have a working local screen with USB touchpanel and USB HID buttons (like in the video), or standard USB keyboard, follow these steps to get this done:
1.) Install venus image on your Raspberry Pi
2.) set HDMI output resolution of the Pi to 480x272 by adding
framebuffer_width=480
framebuffer_height=272
to config.txt (located on the FAT Partition on Venus SD card)
3.) Enable Root Access and make sure you can access the VenusOS files
4.) install QT4 mouse driver package by entering:
opkg update
opkg install qt4-embedded-plugin-mousedriver-tslib
opkg install tslib-calibrate
opkg install tslib-tests
5.) check on which event file the USB touchscreen and the USB Keyboard is linked to:
Type: "ls /dev/input" on the console and see the event files present.
check all event files present by typing cat /dev/input/event1 (then event2 and 3 etc...) and do some presses on the touch panel and USB HID keyboard. When you have hit the right event file you see hex numbers on the console output. Notice on which event file the touchscreen and on which event file the USB HID keyboard is linked to. In the following description the touchscreen is on event1 and keyboard is on event2. Change this, to the event files matching your environment.
6.) Calibrate touch screen with: (enter into console)
TSLIB_FBDEVICE=/dev/fb0
TSLIB_TSDEVICE=/dev/input/event1
TSLIB_CALIBFILE=/etc/pointercal
TSLIB_CONFFILE=/etc/ts.conf
TSLIB_PLUGINDIR=/usr/lib/ts ts_calibrate
7.) Test touch screen with:
TSLIB_FBDEVICE=/dev/fb0 TSLIB_TSDEVICE=/dev/input/event1 ts_test
8.) modify /opt/victronenergy/gui/start-gui.sh
if [ -n "$QWS_MOUSE_PROTO" ]; then
mouse=-mouse
else
mouse=-mouse
fi
after scriptdir=$(dirname "$BASH_SOURCE") add following lines:
export TSLIB_TSEVENTTYPE=INPUT
export TSLIB_CONSOLEDEVICE=none
export TSLIB_FBDEVICE=/dev/fb0
export TSLIB_TSDEVICE=/dev/input/event1
export TSLIB_CALIBFILE=/etc/pointercal
export TSLIB_CONFFILE=/etc/ts.conf
export TSLIB_PLUGINDIR=/usr/lib/ts
export QWS_MOUSE_PROTO=usb:/dev/input/event1
export QWS_KEYBOARD=USB:/dev/input/event2
(if you don't want to use a keyboard skip that last line)
9.) delete or rename /etc/venus/headless file and have a full functioning USB touch panel and working USB keyboard
If you have exactly the Samsung screen like in the video above, with the 5 button USB HID you have to create a new File /etc/udev/rules.d/99-usppt-usb-touch.rules with following contents:
KERNEL=="hidraw*", ATTRS{idVendor}=="13ec", ATTRS{idProduct}=="f2f8", RUN+="/bin/sh -c 'echo 1 > /dev/%k'"
A standard USB keyboard works without this.
If you have further questions, I will be glad to help.
I have to say, I am not a professional programmer or coder, not even a Linux expert, so this can surely be optimized, improved or simplified somehow. Please contribute if you can.
Regards,
Markus

