Here are step-by-step instructions on how to interface an mcp3208. I spent days following old posts and falling down various rabbit holes. What a nightmare. What I’ve done below works as of 2024.
Step 1: download anyspi.dbto
cd /u-boot/overlays
wget https://github.com/raspberrypi/firmware/raw/master/boot/overlays/anyspi.dtbo
Step 2: create run files
cd /opt/victronenergy/dbus_adc
mkdir service
nano run
#!/bin/sh
exec 2>&1
exec softlimit -d 100000000 -s 1000000 -a 100000000 /opt/victronenergy/dbus-adc
(Add above lines to the file “run”)
cd /opt/victronenergy/dbus_adc/service
mkdir log
nano run
root@raspberrypi2:/opt/victronenergy/dbus-adc/service/log# more run
#!/bin/sh
exec 2>&1
exec multilog t s99999 n8 /var/log/dbus-adc
(Add above lines to the file “run”)
chmod 755 /opt/victronenergy/dbus-adc/service/run
chmod 755 /opt/victronenergy/dbus-adc/service/log/run
ln -s /opt/victronenergy/dbus-adc/service /service/dbus-adc

Step 3: Add one line to /u-boot/config.txt
nano /u-boot/config.txt
(Add this to the end of the file)
dtoverlay=anyspi:spi0-0,dev="microchip,mcp3208"
Step 4: create your own dbus-adc.conf file
nano /etc/venus/dbus-adc.conf
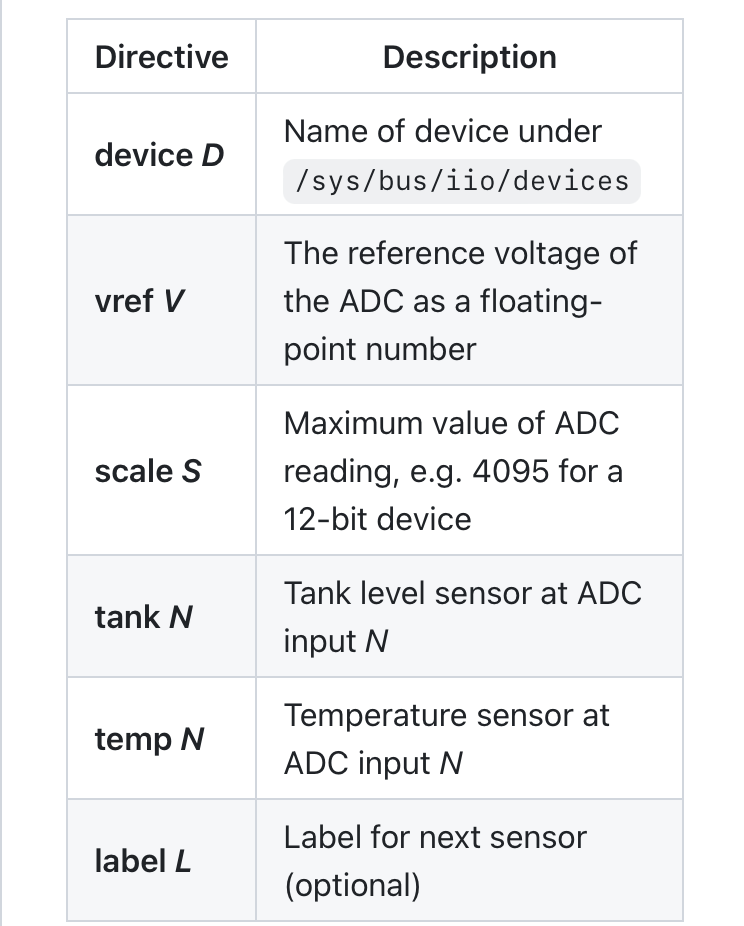
Here you need to put your own custom information, for example:
device iio:device0
vref 1.8
scale 4095
label "Tank 1"
tank 4

reboot
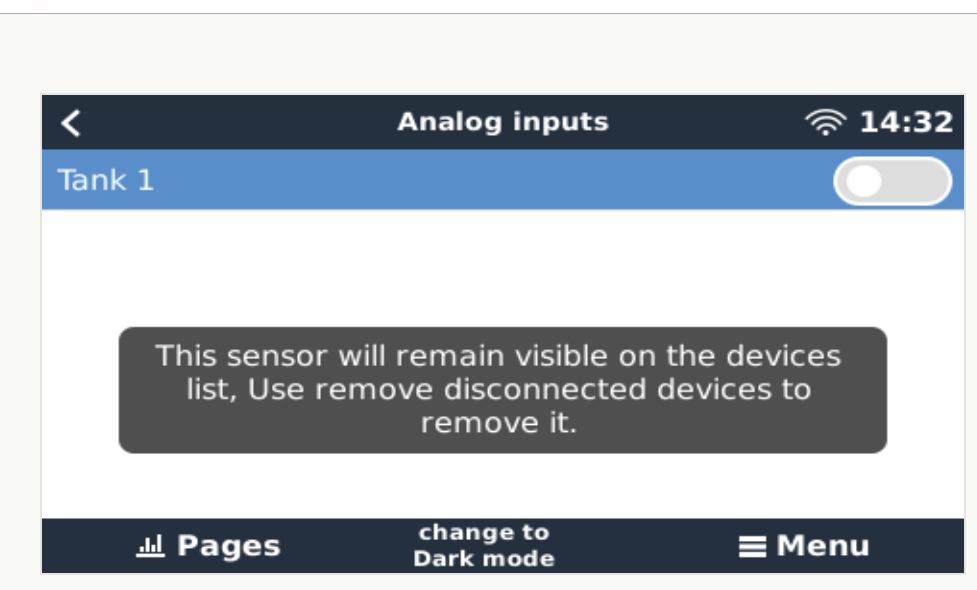
On your remote console go to
Settings->I/O->Analog Inputs

